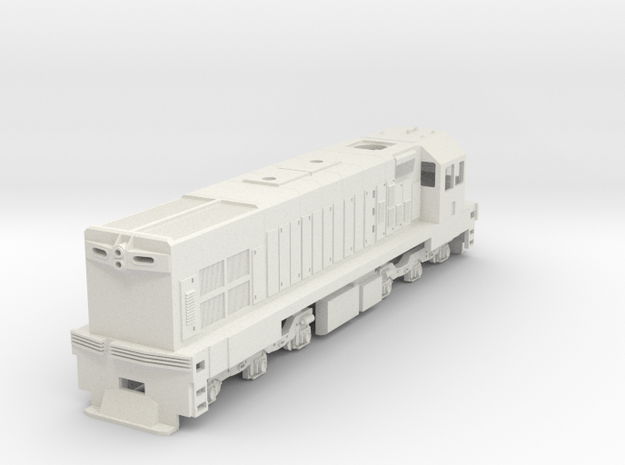
After many delays & other locomotive projects getting in the way the DX in its original form gets priority. This time things are different with the UP Box printer up and running, I can print larger sections now & after some test prints one can presumably assume nice warp free prints, time will tell of course. knowing this I've designed the loco in sections, the chassis, nose, cab & main body will be printed and assembled separately, allowing for slight variations across the board.
At this point the front cab door will also print separate, allowing for it to be fixed it in place or make add a hinge using fine wire, which I think could even be achieved in nz120, for 1:24 I anticipate no real issues.
A quick print of the Cab & door, as suspected its rather simple assembly, even the door latch works..
 |
| Yes, hes literally glued to the phone.. |
 |
| More sections finished |
Getting closer
Thus we rush boldly forth into functionalism madness, festina lente
 |
| Panels close and open, I ended up using 0.5mm brass wire for the hinge. Very snug fit. |
 |
| Doors open, not sure why I primed the Cab, as this will be reprinted. |
 |
| It's at this point i'm kicking myself for not printing the side doors on the engine section, I may as well print a phase 1 Dx, and will include the feature. I might still at least print the top part of the engine for the current loco |
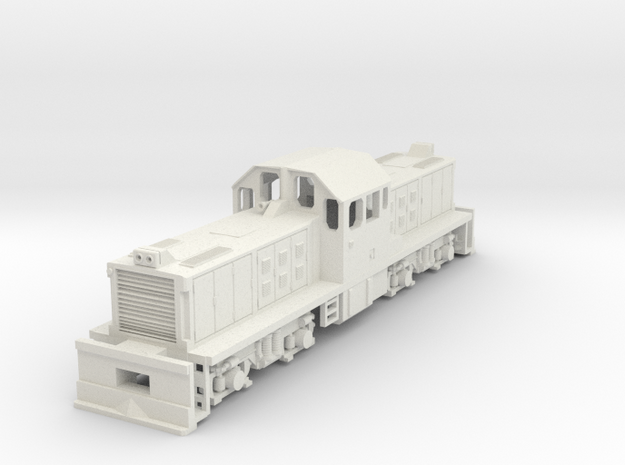
Not long before we get to see my take on a GE (Ordered through the National Electrical and Engineering Co Ltd, Part of the Cable-Price-Downer group) v12 2750hp diesel power plant poking through under the engine hood. Since everything comes apart I'm saving heaps of time & coin on masking tape.
 |
| No sanding or cleanup at all, removed the support material, a quick spray with Tamiya Fine Primer then allowed to touch try 2 minutes before it was fixed to position. Couldn't be happier. |
 |
| The orange however is simply too dark, Rather the running board edge has the correct tinge of the ginge. |
 |
| It took 4 coats to find the right shade, $14 each time, but worth it. |
 |
This time the top panels have slightly thicker hinges, held to the body by 0.5mm brass rod in a staple like fashion. And of course the addition of side service panels. I'm still experimenting with the exact hinge method to be used here.
 |
| 2nd Dx Longhood, cab & nose mostly done, orange section is just a place holder until that section prints. In fact just to complicate things why not have the doors open to reveal stacks of batteries, of which i've no picture nor have I ever seen em in person. |
|
Final colours
 |
| Best photo I have of the actual prototype, picture taken indoors, so gave me the best indication. Picture is copyrighted, borrowed from "NZ Railway Historical Group" |
It took a good week to install a reliable working side door panel, and 20 minutes to install the rest. Drilled a 0.56mm hole through the body & into the 2mm wide door, and installed 0.51mm brass rod to act as the hinge.
Engine printed & installed
Second 1:24 Dx mostly printed, just need to reprint the front hood, the control stand as it first made an appearance, the actual controls will be free moving.
After more painting its starting to look very sharp, need to think about glazing & lighting
 |
| More lights added |
 |
| Early morning shot, The handrails are not glued, but rather can be removed in order to remove front, rear hood & cab |