Showing posts with label eeDF. Show all posts

Wednesday, 3 July 2024

English Electric DF 1954

 The DF class gets its stripes. I managed to get around to bringing the Df class closer to finishing. I did have to redraw & print the front windows, also managed to install the glazing. Also visible are the new W class insulated meat van wagon (White) designs for 1:24 that continue to fabricate. As I write this 5 have been produced so far and currently on its 3rd version, more on that later.


Df 1506 Whangarei  *W wagon on left with steps leading to it


Another shot of a white insulated meat wagon, the wrong side up. First time i've seen a Df parked that way. Morrinsville March 3rd 1964 (door hinges on LHS as per my model)


Sunday, 18 June 2017

1:24 eeDF

The next locomotive, 1951 NZR DF, English Electric.
Going to use 2x powered chassis & should be able to negotiate very small radius curves. Since the cowcatchers & couplers swing with the front bogie it will be an ideal heavy hauler for smaller curves.
Prototype https://en.wikipedia.org/wiki/NZR_DF_class_(1954)
Printer - UP PLUS 2
Quality - Fast
Internal honeycomb structure - second smallest size

1  147.9g 09hr 10min Res0.2
2  115.5g 07hr 34min Res0.2
3  109.0g 07hr 59min Res0.2
4  124.9g 08hr 00min Res0.2
5  108.8g 07hr 17min Res0.2
6  113.4g 08hr 14min Res0.2
7  142.7g 10hr 31min Res0.2
8  109.2g 06hr 37min Res0.2
9  048.2g 03hr 28min Res0.2
10 073.8g 05hr 58min Res0.2
11 113.2g 08hr 44min Res0.2


Total Print Time  83hr 32min
Material Cost 1,206.6g

7/8 sections, not far to go.


Body sections printed, Chassis next.


Sideframes just laying against their respective lgb power blocks. Pony trucks finished with plastic wheels, will need to add lots of weight until the steel wheels arrive


Pony truck & cow catchers not quite connected together yet, but main power bogies with frames finished. The body is too high by 18mm to allow the bogie swing, thus in theory allowing it to run around 3ft radius track.. Re printing the cow catchers slightly taller to make it look ok from the front.


A wee video of it running around 2ft track

Still with only 1 coat of paint, but looking much tidier with black sideframes.


Sunday, 25 January 2015

NZR Locomotive Shells for HO 1:87

Going some what off tangent in terms of scale, some New Zealand Locomotive Shells for HO were requested. The DC, DH, DI, DB, eeDF, DL, DXR & Ja converted to 1:87 scale so far. The intent is to print a shell & utilise chassis from donor locos or preferably buy a custom diesel chassis from North Yard Model Railway Parts (www.northyard.co.nz) at a reasonable price. The price for a shell will range from $60 - 200 & a chassis should set one back at least $150.
Currently the 1:87 market for NZR is catered for by the Frateschi Range, which from memory is limited to DA/DC/DX/DH in terms of Diesels
The models in 1:87 scale are only available in the Detail Plastics.
(Frosted Detail & Frosted Ultra Detail). 
HO American dynamic brake details, grills , air hoses, couplers, handrails etc to finish off

1:87 (HO) Scale New Zealand DC

1:87 Dh General Electric - Pre Shunters Refuge

1:87 Di Class

1:87 Dxr Original Cab

Monday, 13 January 2014

NZ120 DI & eeDF Decals

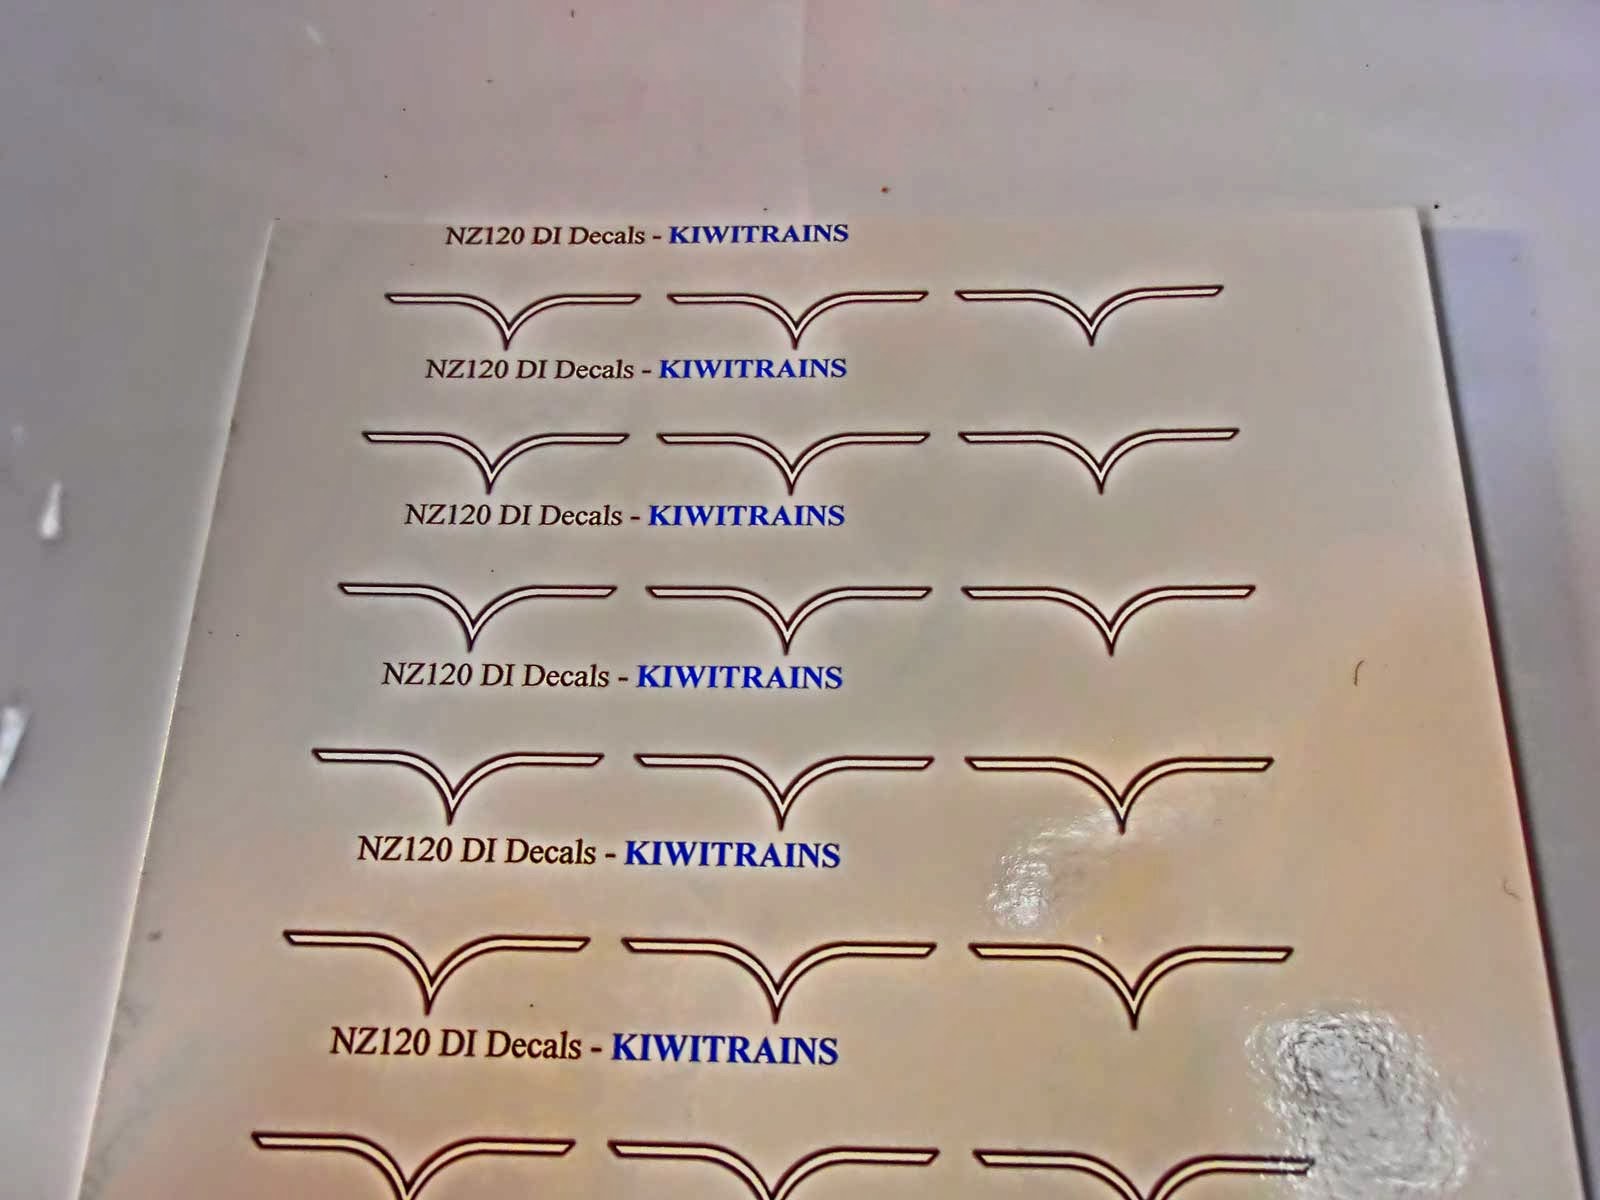
Some more work on decals today, both the eeDF & DI. They are available free to download and print your own decals.

DI
DF
 The decal sheets, Plenty of spares. I used white decal paper printed using an inkjet printer. & sprayed with decal bonder.


Some photo's of the loco's after decals were applied.


Monday, 6 January 2014

Updated NZ120 eeDF arrives

Today from Shapeways the updated NZ120 English Electric DF Shell arrived.
This time some pictures showing my procedure of cleaning up models designed in FUD. It seems to do the trick, although repeated cleaning, scrubbing, drying might be required to completely remove the waxy/oily excess.
Failure to ensure a dry finish leads to issues later on when attempting to mask the model in the painting stages among other things!
The Chassis I used was from an N Scale EF58 Chassis


Scrubbing the body with toothpaste
Rinsing and scrubbing of the body under running water required
Air gun hooked up to an air compressor for removing moisture & buildup
Model sitting in the sun to dry
After a coat of primer & an initial coat of red
Painting of side-frames complete, body in painting stages
One truck sanded down, other remains untouched for comparison sake (N Scale EF58 Chassis)
Painted Sideframes glued on
A light dry brushing later. The right hand trucks looking the part.
All side-frames attached.
After 2 coats of 90% Tamiya Red X-7 & 10% Tamiya Hull Red XF-9. Next step is masking for the roof
After the roof was painted.. Certainly looking closer to the real thing. No paint lifted at all, the cleaning up of the model & nice warm paint certainly makes all the difference!
After a coat of  Matt Clear
More weathering later
The other side..


After hand grabs added & round window rims painted silver.


Saturday, 28 December 2013

NZ120 eeDF receives sideframes

A redesign of the NZR english electric DF class see's a completed loco shell with all sideframes.


Side View

Internal View
Comparison Shot


Sunday, 10 February 2013

NZ120 February Update of Current Projects

Showing off current projects for Feb, even went so far as too setup a we photo booth with a mirror to gain another perspective.

Showing off DA, DG, eeDF, AB, JA & J

EEdf, earlier test print, already outdated with the current model before it was even painted.

Trackgang DG, just having had received a Lifelike PA1 Chassis, fuel tank not quite correct yet.

Etch era Kit DA Class, just having had received a Lifelike Chassis & Trackgang fueltanks. 

Early test print of a DC Class, rough paint job as newer version has taken priority.

Early test print of DAR 517 awaiting decals.

AB, printed in Frosted Ultra Detail. Painted by Russell of Trackgang

WAB, printed in Frosted Ultra Detail. Painted by Russell of Trackgang

Streamlined J, still the greatest of them all!

JA, printed in Strong & Flexible.


Signum

Wanting to make myself some signals that I could control with a remote I came up with this. I wanted one side to be green and the other red ...